
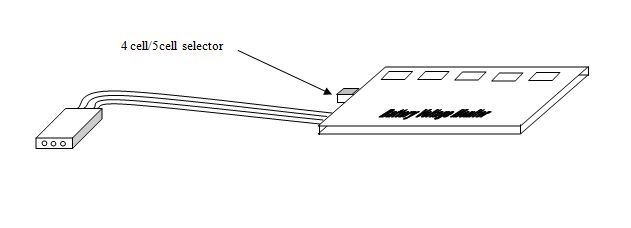
Installation
First select the right voltage on the battery monitor with your finger nail for the number of cells your battery pack has. Then plug the unit into a spare channel on your receiver, if you don’t have a spare channel then use a “Y” lead on an auxiliary channel like channel 5 and put the servo on one end and the monitor in the other end.
Pre-Flight Test
The condition of the receiver Battery should be tested before every flight using the On-Board Battery Monitor.
To test receiver battery packs condition switch on the radio and simulate in-flight conditions by operating the four main stick channels on the transmitter in a rapid circular movement, thus applying a large load to the Battery. look at the LED display of the On-Board Battery Checker during this test.
- If either of the green stays alight the battery is in a good state of charge.
- If the second yellow L.E.D lights the battery is in a fairly low state of charge and another flight is not recommended.
- If the red L.E.D lights the battery is totally flat DO NOT attempt to fly.
Suggested faults
- One or more cells may be faulty.
- The lead to the NiCad pack may be corroded, causing high resistance and hence low voltage.
- High resistance in the switch harness caused by fuel contamination affecting the switch contacts and/or the lead. Try loading the NiCad directly.
- Dirty and corroded plugs and socket will also affect voltage drop.


Reviews
There are no reviews yet.